
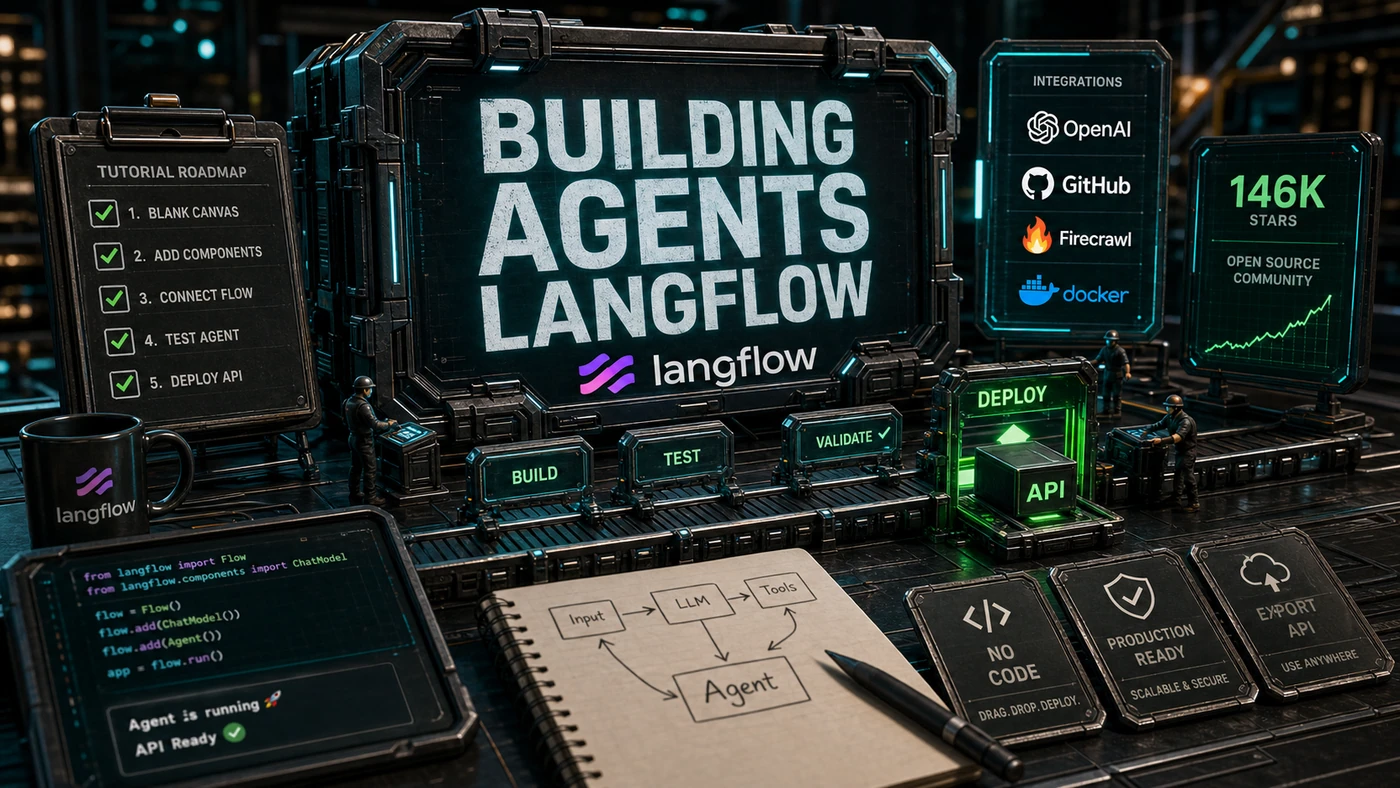


Briefing
Langflow's visual builder lets people build agents without touching code. In this tutorial we'll put together a research assistant agent that searches the web, summarises what it finds, and writes up a report, no programming required. Langflow is one of the most-starred AI projects on GitHub, with a star count reported at 146,000 around early 2026 (the live figure has since climbed past that), so you won't be short of company or community help.
There's a quiet shift happening in how small teams adopt AI. For years, building an "agent", software that can take a question, go off and search, and come back with an answer, meant hiring a developer or learning Python yourself. That gatekept the whole thing. If you ran a six-person consultancy in Parramatta, an automated research assistant was something you read about, not something you built before lunch.
Tools like Langflow change that maths. Instead of writing code, you drag boxes onto a canvas and draw lines between them. Each box does one job, talk to an AI model, search the web, chop up text, remember the last few messages. Wire them together and you have a working agent. The whole thing can then be flipped into a live API your other software can call.
This walkthrough builds exactly that: an agent that takes a plain-English research question, hunts the web for relevant pages, condenses them into key findings, and hands back a tidy report. Budget about half an hour. The point isn't the specific bot, it's that the barrier to building one has dropped to roughly the effort of putting together a slide deck.
Prerequisites
- Langflow installed, either via
pip install langflowor the hosted cloud version (both are covered in the official install docs) - An OpenAI API key, or a key for another LLM provider
- A Firecrawl API key for web search
- 30 minutes
Step 1: Create a New Flow
Open Langflow in your browser. Click "New Flow" and pick "Blank Flow." You'll land on an empty canvas with a component sidebar down the left.
Step 2: Add the LLM Component
From the sidebar, drag an OpenAI component onto the canvas. Set it up:
- Model: gpt-4o-mini (cheap, and fine for this tutorial)
- Temperature: 0.7 (a middle setting between creative and predictable)
- API Key: your OpenAI API key
This is the agent's brain. Every bit of reasoning runs through this model.
Step 3: Add a Chat Input
Drag a Chat Input component onto the canvas. This is where users type their research questions. Connect its output to the OpenAI component's input.
Step 4: Add the Web Search Tool
Drag a Firecrawl component onto the canvas. Configure it:
- API Key: your Firecrawl API key
- Mode: search (searches the web and pulls the content back)
- Limit: 5 results (keeps the tutorial cheap)
Connect the OpenAI component's output to the Firecrawl component's query input. The model will write the search queries based on what the user asked. (Firecrawl publishes its own Langflow integration guide if you want the canonical setup steps.)
Step 5: Add Text Processing
Drag a Text Splitter component onto the canvas. Configure it:
- Chunk Size: 1000 tokens
- Chunk Overlap: 200 tokens
Connect the Firecrawl output (the web content) to the Text Splitter input. This breaks long pages into chunks the model can actually work with.
Step 6: Add Summarisation
Drag a second OpenAI component onto the canvas. Configure it:
- Model: gpt-4o-mini
- System Prompt: "You are a research analyst. Summarise the following web content into key findings. Be concise but comprehensive."
Connect the Text Splitter output to this OpenAI component's input.
Step 7: Add the Final Output
Drag a Chat Output component onto the canvas. Connect the summarisation OpenAI component's output to the Chat Output input.
Step 8: Connect Everything
Your flow should read like this:
Chat Input → OpenAI (reasoning) → Firecrawl (search) → Text Splitter → OpenAI (summarise) → Chat OutputClick "Run" to test it. Type "What are the latest developments in quantum computing?" and watch the agent go to work. One caveat worth naming: this wiring is a teaching example, not an official Langflow template, so depending on your version you may need to adjust how one component's output feeds the next.
Step 9: Add Memory
To make the agent hold context across turns, add memory:
- Drag a Message History component onto the canvas
- Connect it between the Chat Input and the first OpenAI component
- Set Window Size: 10 (it remembers the last 10 messages)
Step 10: Add Conditional Logic
Make the agent a bit smarter with conditional routing:
- Drag a Conditional Router component
- Set condition: if query contains "summarise" → summarisation path
- Set condition: if query contains "details" → detailed search path
- Set default: standard search path
Langflow's Logic components docs cover the Conditional Router in detail if you want to get fancier with the rules.
Step 11: Export as API
Once the flow works, click "API" in the top right. Langflow hands you:
- A REST API endpoint
- Python code to call it
- cURL examples
- JavaScript/TypeScript client code
From there you can deploy:
- Local: run it on your machine
- Cloud: hosted on Langflow's infrastructure
- Docker: export it as a container
Step 12: Test the API
curl -X POST http://localhost:7860/api/v1/run/your-flow-id
  -H "Content-Type: application/json"
  -d '{"input": "Latest AI agent frameworks 2026"}'
That localhost:7860 address is Langflow's default, and the run endpoint pattern is documented in the Langflow quickstart.
Enhancing Your Agent
Once the basics are working, you can bolt on more:
File Upload: let users upload documents for analysis. Add a File component and a Document Loader.
Database Query: connect to a database. Add a PostgreSQL component with a SQL Generator.
Multiple Search Sources: add Serper and Tavily components alongside Firecrawl for wider coverage. (Both are commonly available as tool components, though worth confirming against your version's docs.)
Quality Check: add a third OpenAI component to review the output for accuracy and completeness.
Formatting: add a Prompt component that shapes the output into a structured report with headings and bullet points.
Debugging Tips
- Check connections: make sure every component input is actually wired up
- Read error messages: Langflow shows detailed errors right on the canvas
- Test incrementally: build and test one section at a time
- Use the playground: the built-in chat interface is the quickest way to test
- Check logs: the execution logs show you exactly what happened
What You've Built
In half an hour you've put together an agent that:
- Takes natural language research questions
- Searches the web for relevant content
- Processes and summarises what it finds
- Remembers the conversation
- Returns structured reports
- Can be deployed as a production API
That's the case for Langflow's visual approach. Work that would run to hundreds of lines of code becomes a few minutes of drag-and-drop. The large, active community behind the project is a fair sign that builders find this worth their time.
Next Steps
- Browse the component marketplace for more capabilities
- Share your flow to the community gallery
- Read the docs for advanced features like custom components
- Join the Discord to swap notes with other Langflow builders
Happy building.