


Analysis
Talk to a computer and wait, and the gap between your last word and its first one tells you everything. Half a second feels like a conversation. Three seconds feels like a help desk. The whole craft of building a voice assistant comes down to closing that gap without making the thing sound robotic when it finally speaks.
For Australian teams, that is the practical part worth caring about. A voice front end on top of an LLM can answer phones, run a kiosk, take an order, or sit on a warehouse floor where nobody has a free hand for a keyboard. None of it works if the reply lands too late or the assistant talks over the person mid-sentence.
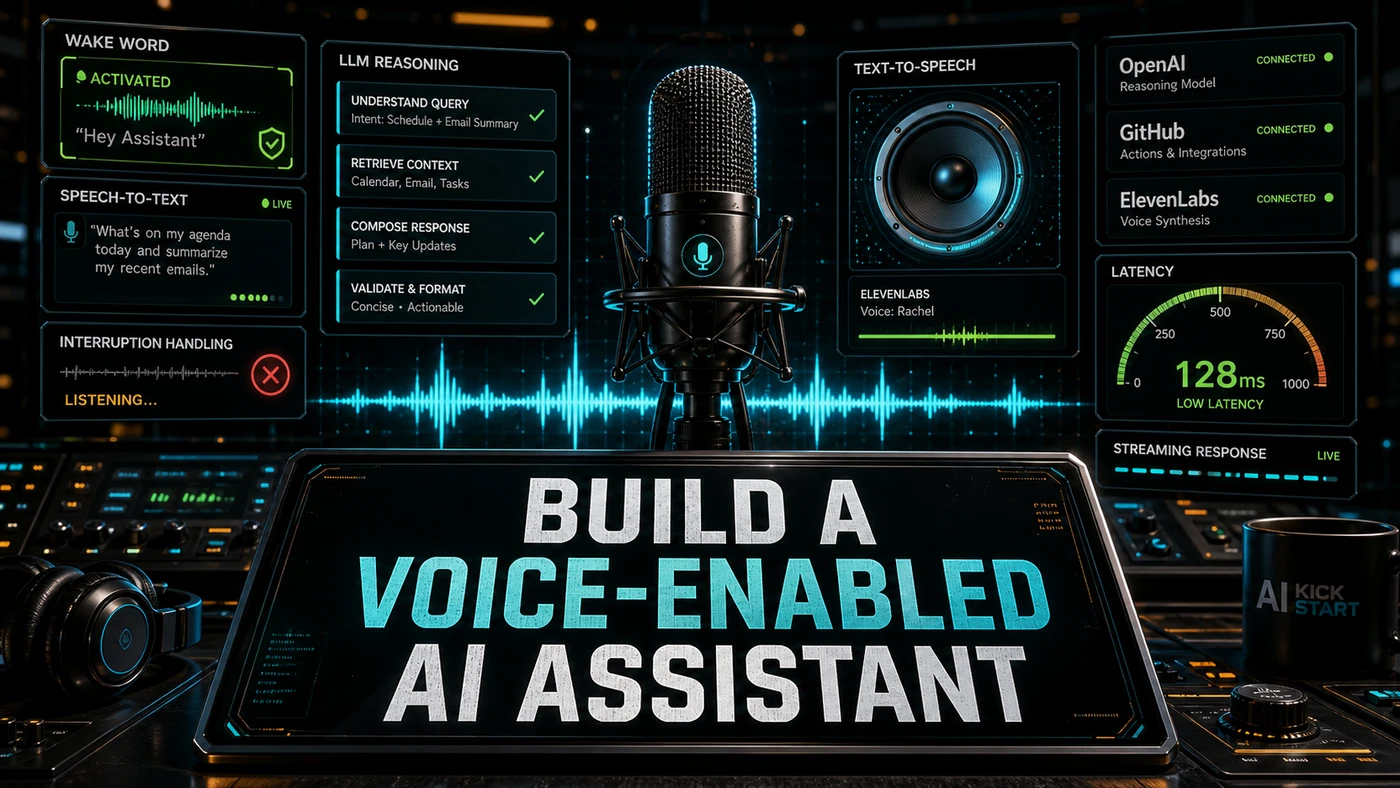
This guide walks through the full chain: catching a wake word locally, turning speech into text, getting a fast answer out of a model, and speaking it back. The code below runs in Python and uses tools you can install today. A couple of the numbers attached to one model are not what they appear, and I'll flag those as we hit them rather than hand-wave past them.
Analysis
Prerequisites
- Python 3.10+
- Microphone access
- Speakers/headphones
- API keys for STT/LLM/TTS services (or local models)
pip install openai whisper pvporcupine pyaudio elevenlabs
Step-by-Step Framework
Step 1: Wake Word Detection
The assistant needs to sit quietly until you call it. Running a full LLM around the clock to catch one phrase would be wasteful and slow, so wake word detection runs on its own small model. Porcupine does this on-device, no audio leaves the machine until the keyword fires, which keeps both latency and privacy in your favour. The Python SDK lives in the Picovoice/porcupine repo and needs a free Picovoice access key.
# voice/wake_word.py
import pvporcupine
import pyaudio
import struct

class WakeWordDetector:
    def __init__(self, keyword_path: str = "hey-computer.ppn"):
        self.porcupine = pvporcupine.create(
            access_key="YOUR_PICOVOICE_KEY",
            keyword_paths=[keyword_path]
        )

        self.pa = pyaudio.PyAudio()
        self.stream = self.pa.open(
            rate=self.porcupine.sample_rate,
            channels=1,
            format=pyaudio.paInt16,
            input=True,
            frames_per_buffer=self.porcupine.frame_length
        )

    def listen(self):
        """Block until wake word detected."""
        print("Listening for wake word...")
        while True:
            pcm = self.stream.read(self.porcupine.frame_length)
            pcm = struct.unpack_from("h" * self.porcupine.frame_length, pcm)
            result = self.porcupine.process(pcm)

            if result >= 0:
                print("Wake word detected!")
                return True

    def cleanup(self):
        self.stream.stop_stream()
        self.stream.close()
        self.pa.terminate()
        self.porcupine.delete()
Step 2: Streaming Speech-to-Text
Once the assistant is awake, it has to write down what you said. OpenAI's Whisper runs locally and ships in several sizes; base and tiny are fast enough that the transcription is rarely the bottleneck. If you'd rather offload it and get word-by-word results as the person talks, Deepgram's streaming API is the usual swap.
The other half of this step is knowing when the person has finished. Rather than recording for a fixed number of seconds, the code below watches the volume and stops after roughly a second of silence. That single trick does more for the felt responsiveness than almost anything else, because the assistant stops listening the moment you stop talking instead of waiting out a timer.
# voice/stt.py
import whisper
import numpy as np
import queue
import threading

class StreamingSTT:
    def __init__(self, model_size: str = "base"):
        self.model = whisper.load_model(model_size)
        self.audio_queue = queue.Queue()
        self.is_recording = False
        self.silence_threshold = 500  # Adjust for environment
        self.silence_frames = 0
        self.max_silence_frames = 30  # ~1 second of silence

    def start_recording(self):
        """Start recording audio for transcription."""
        import pyaudio
        import struct

        self.is_recording = True
        self.audio_buffer = []
        self.silence_frames = 0

        pa = pyaudio.PyAudio()
        stream = pa.open(
            format=pyaudio.paInt16,
            channels=1,
            rate=16000,
            input=True,
            frames_per_buffer=1024
        )

        print("Recording... (speak now)")

        while self.is_recording:
            data = stream.read(1024, exception_on_overflow=False)
            audio_data = np.frombuffer(data, dtype=np.int16)
            self.audio_buffer.append(audio_data)

            # Detect silence
            volume = np.abs(audio_data).mean()
            if volume < self.silence_threshold:
                self.silence_frames += 1
                if self.silence_frames >= self.max_silence_frames:
                    self.is_recording = False
            else:
                self.silence_frames = 0

        stream.stop_stream()
        stream.close()
        pa.terminate()

        # Transcribe
        audio = np.concatenate(self.audio_buffer).astype(np.float32) / 32768.0
        result = self.model.transcribe(audio, fp16=False)
        return result["text"].strip()

    def transcribe_file(self, path: str) -> str:
        result = self.model.transcribe(path, fp16=False)
        return result["text"].strip()
Step 3: Fast LLM Response
This is where the model does its thinking, and where speed buys you the most. The code targets what OpenAI markets as GPT-5.5 Instant, the variant tuned for quick replies.
Two caveats here, because they matter for anyone copying this into production. First, the model="gpt-5.5-instant" string is written as if it were a standalone API model id, but OpenAI staff have said there is no separate gpt-5.5-instant model on the API; the Instant behaviour is reportedly reached through the `chat-latest` alias, so the literal id may not resolve as written. Second, ignore the headline pricing you may have seen floating around for this tier, see the latency and cost note at Step 6 before you budget on it.
Capping responses at 250 tokens is deliberate. Voice replies that run long stop sounding like answers and start sounding like a lecture, and every extra token is more time before the person can speak again.
# voice/llm.py
from openai import OpenAI

class FastLLM:
    def __init__(self):
        self.client = OpenAI()

    def respond(self, user_message: str, conversation_history: list = None) -> str:
        messages = conversation_history or []
        messages.append({"role": "user", "content": user_message})

        # Use GPT-5.5 Instant for speed
        response = self.client.chat.completions.create(
            model="gpt-5.5-instant",
            messages=messages,
            max_tokens=250,  # Keep responses concise for voice
            temperature=0.7
        )

        return response.choices[0].message.content

    def respond_streaming(self, user_message: str):
        """Stream response for lower perceived latency."""
        response = self.client.chat.completions.create(
            model="gpt-5.5-instant",
            messages=[{"role": "user", "content": user_message}],
            max_tokens=250,
            stream=True
        )

        for chunk in response:
            if chunk.choices[0].delta.content:
                yield chunk.choices[0].delta.content
Step 4: Text-to-Speech
Now the assistant talks back. ElevenLabs gives you the most natural voice and supports streaming, so playback can start before the full reply is generated, the eleven_turbo_v2_5 model is the low-latency option, and 21m00Tcm4TlvDq8ikWAM is the default Rachel voice. If you want everything local and free, Piper runs neural voices like en_US-lessac-medium straight from the CLI. And on a Mac, the built-in `say` command is fine for a quick prototype before you wire up anything fancier.
# voice/tts.py
from elevenlabs import generate, play, stream
import subprocess
import os

class VoiceOutput:
    def __init__(self, voice_id: str = "21m00Tcm4TlvDq8ikWAM"):
        self.voice_id = voice_id

    def speak_elevenlabs(self, text: str):
        """High-quality TTS via ElevenLabs."""
        audio_stream = generate(
            text=text,
            voice=self.voice_id,
            model="eleven_turbo_v2_5",
            stream=True
        )
        stream(audio_stream)

    def speak_piper(self, text: str):
        """Local/free TTS via Piper."""
        with open("/tmp/tts_input.txt", "w") as f:
            f.write(text)

        subprocess.run([
            "piper",
            "--model", "en_US-lessac-medium.onnx",
            "--output_file", "/tmp/tts_output.wav",
            "--file", "/tmp/tts_input.txt"
        ])

        subprocess.run(["aplay", "/tmp/tts_output.wav"])

    def speak_macos(self, text: str):
        """Use macOS built-in say command."""
        subprocess.run(["say", text])
Step 5: Main Assistant Loop
This is where the four pieces become one program. The loop waits for the wake word, acknowledges with a quick "Yes?", records until you go quiet, sends the text to the model, speaks the reply, and keeps the last ten exchanges as context so the conversation holds together. It also catches its own errors and apologises out loud rather than dying silently, which on a voice device is the difference between a hiccup and a dead box the user has no way to debug.
# voice/assistant.py
import time
import signal
import sys

class VoiceAssistant:
    def __init__(self):
        self.wake_detector = WakeWordDetector()
        self.stt = StreamingSTT()
        self.llm = FastLLM()
        self.tts = VoiceOutput()
        self.conversation = []
        self.running = True

        signal.signal(signal.SIGINT, self.shutdown)

    def run(self):
        print("Voice Assistant started. Say the wake word to begin.")

        while self.running:
            try:
                # 1. Wait for wake word
                self.wake_detector.listen()
                self.tts.speak_macos("Yes?")

                # 2. Record speech
                user_input = self.stt.start_recording()
                print(f"You said: {user_input}")

                if not user_input:
                    self.tts.speak_macos("I didn't catch that.")
                    continue

                # 3. Generate response
                start_time = time.time()
                response = self.llm.respond(user_input, self.conversation)
                latency = time.time() - start_time

                print(f"Response ({latency:.1f}s): {response}")

                # 4. Speak response
                self.tts.speak_macos(response)

                # 5. Update conversation
                self.conversation.append({"role": "user", "content": user_input})
                self.conversation.append({"role": "assistant", "content": response})

                # Keep last 10 exchanges
                if len(self.conversation) > 20:
                    self.conversation = self.conversation[-20:]

            except Exception as e:
                print(f"Error: {e}")
                self.tts.speak_macos("Sorry, I encountered an error.")

    def shutdown(self, signum, frame):
        print("\nShutting down...")
        self.running = False
        self.wake_detector.cleanup()
        sys.exit(0)

if __name__ == "__main__":
    assistant = VoiceAssistant()
    assistant.run()
Step 6: Latency Optimisation
The figures below are targets to design against, not benchmarks. Real numbers depend on your hardware, your network, and how each component is configured, treat them as a budget that tells you where the time goes, then measure your own setup.
Target latency breakdown:
- Wake word detection: < 200ms
- Speech recording (silence detection): 1-3s (user-dependent)
- STT (Whisper base): 300ms
- LLM (GPT-5.5 Instant, 50 tokens): 500ms
- TTS (ElevenLabs Turbo): 200ms first chunk
- Audio playback: streaming

Total end-to-end: 1.2 - 3.2s
Optimisations:
- Use Whisper "tiny" or "base" for speed
- GPT-5.5 Instant is the fastest model with good quality
- ElevenLabs Turbo v2.5 for streaming TTS
- Pre-warm all models on startup
- Use streaming TTS to start playback before full response
One more note on the model, because it affects your running costs. Some write-ups have circulated a $0.50/$1.50 per-million-token figure for GPT-5.5 Instant; that does not match any published OpenAI rate I can find. The documented GPT-5.5 pricing is closer to $5 per million input tokens and $30 per million output tokens (roughly half that on batch), and OpenAI staff have said there is no separate Instant pricing tier. Budget against the published numbers, not the cheaper ones.
Do/Don't
| Do | Don't |
|---|---|
| Use GPT-5.5 Instant for voice (speed matters) | Use slow models for real-time voice |
| Keep LLM responses under 250 tokens | Generate long responses for voice |
| Implement silence detection for STT | Use fixed recording duration |
| Stream TTS for lower perceived latency | Wait for full audio before playing |
| Test in your actual acoustic environment | Develop in a quiet office, deploy to a noisy space |
Conclusion
The pipeline is four parts, wake word, speech-to-text, a fast model, and speech back out, and the whole thing lives or dies on latency. Pick fast components, stream wherever you can, and pre-warm the models so the first request isn't the slow one. Porcupine keeps the wake word local, Whisper or Deepgram handle the listening, and ElevenLabs Turbo gives you a voice that doesn't sound like a phone tree.
Two things to keep your eye on before you ship: confirm how you actually call the model on the API rather than trusting the literal id in the sample, and check the real pricing against OpenAI's published rates. Get those right, and you have an assistant that answers fast enough to feel like a conversation rather than a query.